It’s that time of year again! No, I’m not talking about that “new year, new me” baloney…more like “new year, new garden”. January is such a bittersweet time for me. On one end, the holidays are over and that means leaving home and going back to work (bitter). On the other hand though, January also means seed catalogues galore and planning out the year’s garden, which is oh so very sweet!
Being located in Zone 10b, I’m pretty fortunate to be able to grow pretty much all year round. That being said, it’s amazing how still, once January hits, I’m chomping at the bit for spring and all the warm weather veggies. January is when I start my warmer crops indoors so they are nice and strong when it is warm enough to start growing them outside.
It may seem intimidating to grow from seed— I know it was for me when I first started gardening. So I thought I would put together a three part tutorial for starting seeds indoors. This is applicable to all zones and climates.
PLAN YOUR GARDEN
Before starting seeds, it’s important to plan your garden out so you don’t get get stuck with too many or too little plants. Seed is pretty inexpensive, but that doesn’t mean we want to waste it! Pay attention to the growing cycle of what you want to grow— how much time do they need to mature? For example— Brussels sprouts take months to mature and radishes can be harvested in just a few weeks.
First things first, find your zone if you don’t know it already. Your zone is basically your planting guide for your climate and everything is based around the probability and timing of frosts. My zone is 10b, which I learned from the USDA Plant Hardiness Zone Map. You can find yours here.
Another thing to pay attention to when planning your garden is spacing. Plants need more space than you think! I’m always trying to push the limits since my growing area is very small, but I’ve paid the price for it in the past. Crowding your plants can result in them competing for nutrients, shading each other from sunlight, and reduce airflow which can encourage the development of fungal diseases. Luckily, most seed packs have planting guidelines mapped out for you.
There are more things to be mindful of when it comes to garden planning but I’ll save that for later in the tutorial when we get closer to transplant time.
SEED SOURCING
Now for the fun part! I want to start with a quick note on why I choose to grow from seed. Growing from seed is much more inexpensive than starting from a nursery plant. Plus, being the control freak that I am, I love knowing exactly what soil my plant grew in, what it was fed, and where it came from. An big one- growing from seed ensures that you’re not bringing home hidden pests from the nursery as well! Pests are difficult enough— don’t make your life harder by bringing them home to your garden! Finally, growing from seed allows you to choose from so many fun varieties of vegetables. Like purple tomatoes and chocolate bell peppers— things you will never see in your grocery store and maybe not even in the farmers market.
This year, I bought a bunch of my seeds from SeedsNow. I had a great experience with their seeds last season and one of my favorite things about them is their seed “sample” option. Oftentimes, depending on what you’re ordering, one packet of seeds can have 1000 or more seeds. That’s great if it’s your go to salad lettuce, but what if it’s a variety you want to try but are not ready to commit to? Maybe you’re not sure if you even like mustard greens but you want to grow some and try them. Enter SeedsNow.
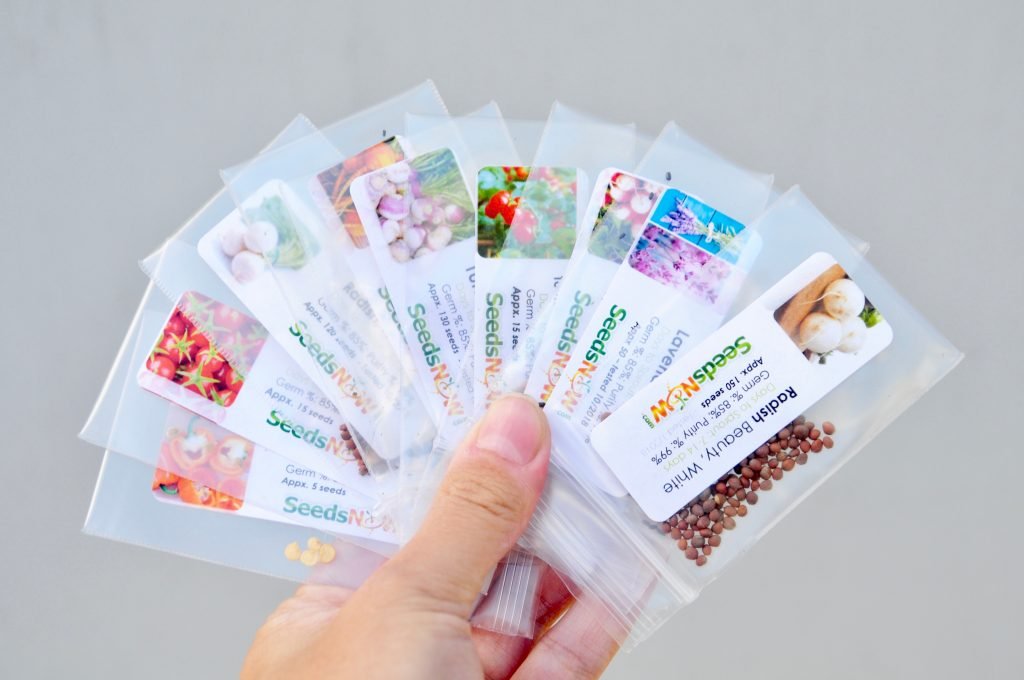
SeedsNow samples are little bags with a smaller number of seeds than you would get in your standard seed packet, and most are only 0.99 cents. In fact, most of my seed packets for this year are samples. Being an urban small space gardener, I don’t have the room to dedicate a whole bed to large plants like zucchini or broccoli. Space is gold in my garden so my seed volume requirements are not the same as those of homesteaders or other gardeners who have large yards to work with. For those of you lucky ducks who do have that space, don’t worry. SeedsNow has bulk options as well!
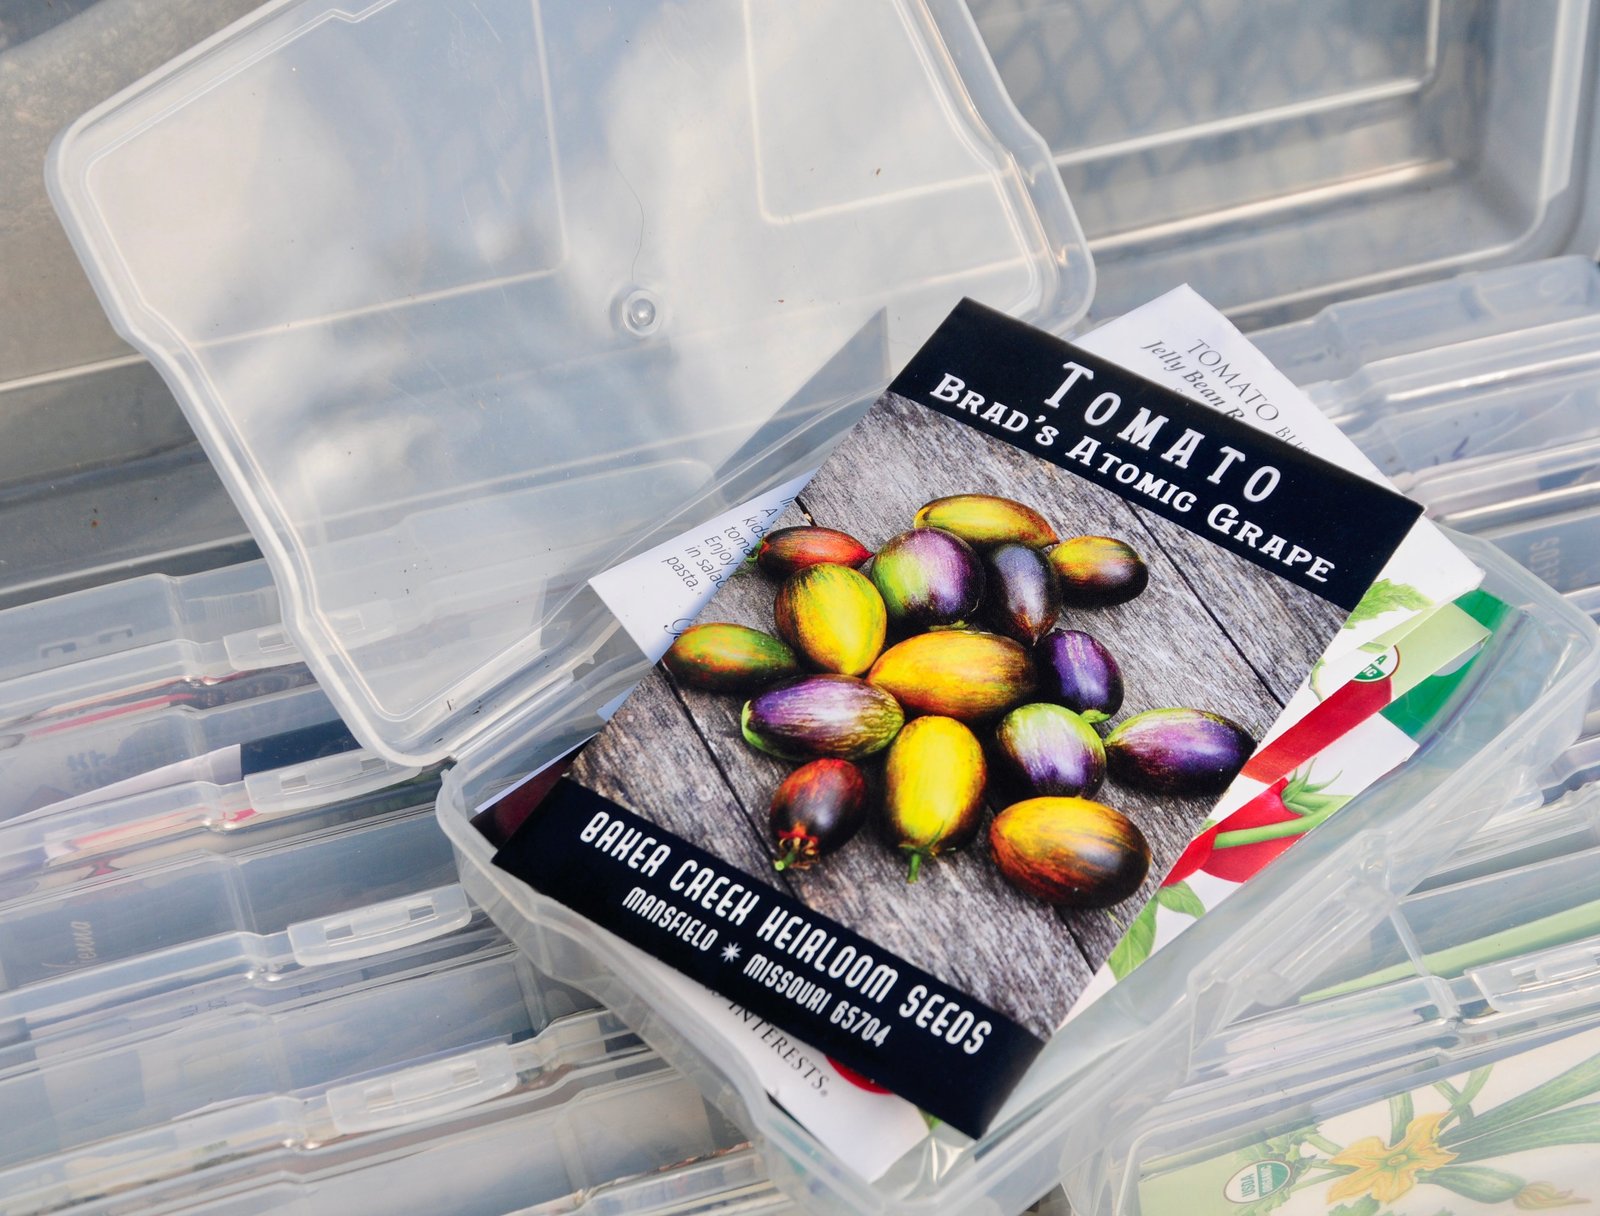
I’ve linked the SeedsNow website here. Let me tell you— seed hoarding is very real, but it’s an addiction I’m ok with and my favorite rabbit hole to get lost in. There are tons of great seed suppliers out there. Some of my other favorites are Baker Creek Heirloom Seeds for heirloom varieties and MIGardener.
SETUP AND SUPPLIES
Now let’s talk about what to grow your seeds in. When you start seeds indoors, it’s important to use a moisture retaining seed starting mix. Peat moss is a great substance for this. It is super lightweight so the seeds don’t have trouble breaking through the surface once they have germinated.


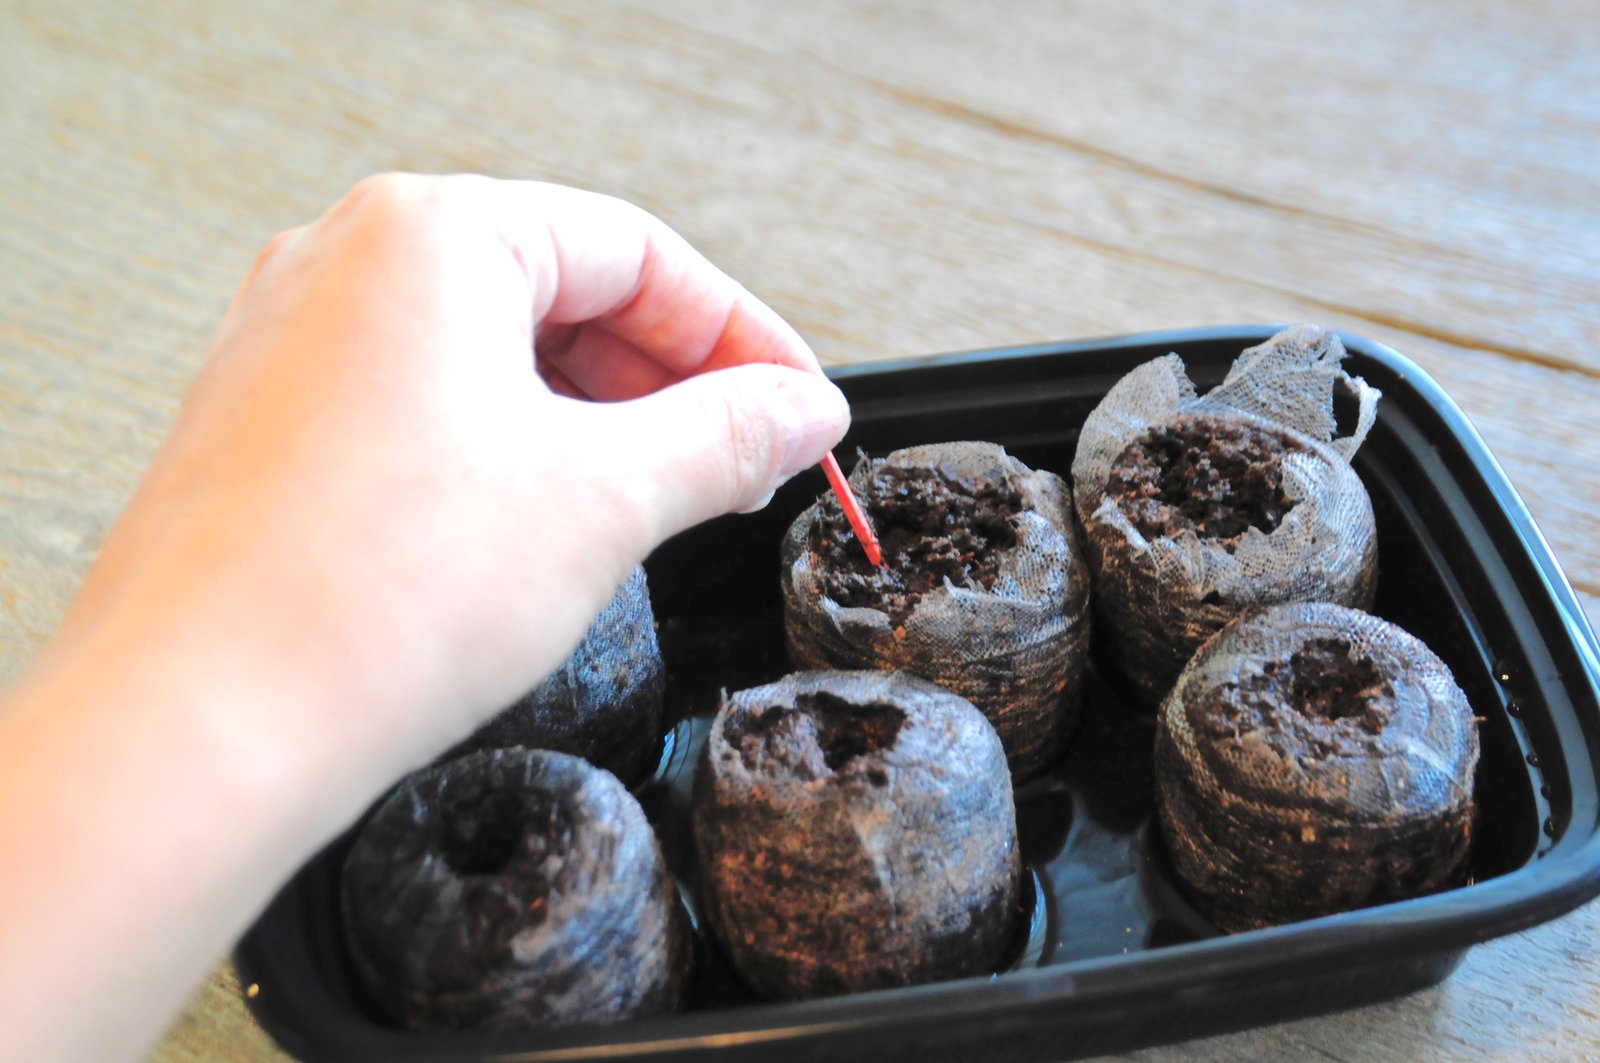
My personal preference is to use dehydrated peat pellets simply because they are so easy and convenient. The pellets come dried and compressed and you simply rehydrate them with water when you’re ready to use them. When it’s time to transplant your seedlings into the garden or a bigger container, you just peel the outer netting and pop them into the soil. The beauty of the design is the minimal root disruption and there is practically no waste afterwards!
Finally, you will need a light source to start seeds indoors. Being the Bargain Betty that I am, believe it or not I still use your basic $10 Home Depot clamp light with a 100 watt CFL bulb. Nothing fancy here! I have a shelving unit in my garage that serves as my growing space. I clip the lights to the top row and set my seedlings under them on the next shelf down. I’ve had good success with it and I love how it is fuss free and adjustable.
So that’s it! To make things easy, I’ve linked some of these items on my Links page. Getting seeds started indoors does not have to be fancy or expensive. A couple seed packets, some pellets and a clamp light are all you need to get started. Stay tuned for Part 2: a step by step guide on how to sow your seeds in your pellets to maximize germination!
Happy New Year and happy growing!
*Disclaimer: Some of the links above are affiliate links, and if you make a purchase through them I may earn a small commission at no cost to you. These products that I have chosen to link I have used myself and can attest to their quality based on my own experience with them. The opinions expressed on this site are my own.
 An Introduction to Ancient Einkorn Wheat
[…] your materials, and now you’re ready to start your seeds! If you missed Part 1, you can find it here. In this post I will walk you through the steps of starting your own seeds and achieving great […]