You’ve poured through the seed catalogues, you’ve gathered your materials, and now you’re ready to start your seeds! If you missed Part 1, you can find it here. In this post I will walk you through the steps of starting your own seeds and achieving great germination. So pour some coffee and cozy up in your favorite chair— this is the good part!
WHAT YOU’LL NEED
- Peat pellets
- Grow light source
- Disposable baking tray/tupperware/Jiffy mini greenhouse
- Water
- Toothpicks
- Masking Tape/Duct Tape/Plant markers of your choice
Not sure where to find these items? Visit my Links page for information on where to purchase seed starting supplies.
PREPARING YOUR PEAT PELLETS
Hydrating your peat pellets that we discussed in Part 1 is super simple. Cover them with a few inches of water and wait about 5-10 minutes for them to rehydrate. I like to use a baking tray or Tupperware to do this. To check if they need more water once they’ve expanded, give them a little squeeze. If you feel anything stiff (particularly a stiff ring around the pellet), that means they’re not fully rehydrated and need more water. I always just eyeball this— you’ll dump the excess water anyway.
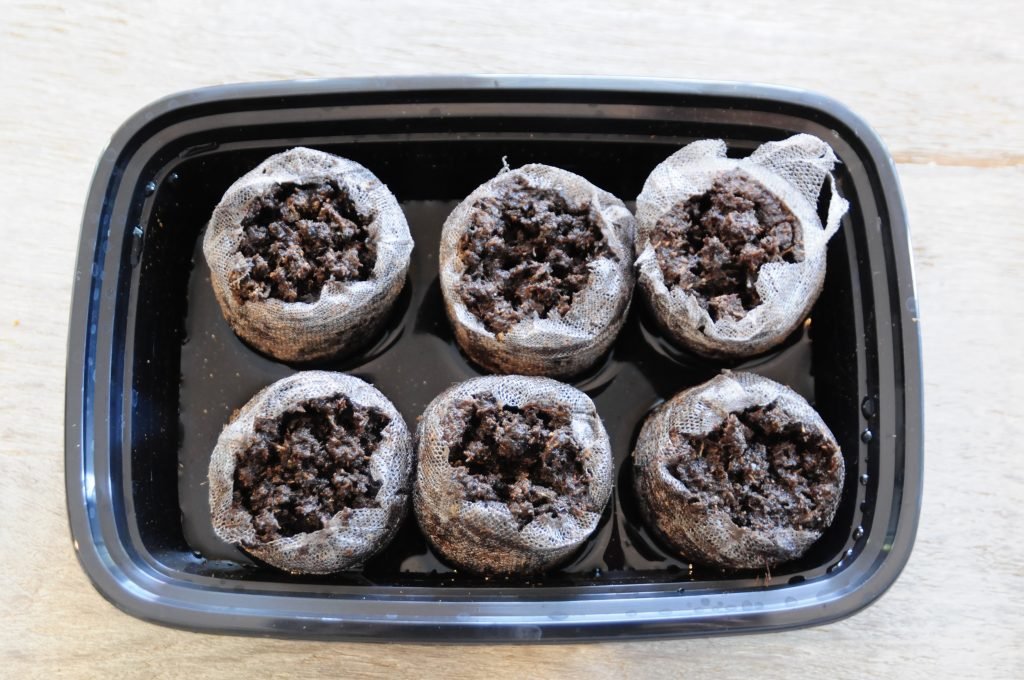
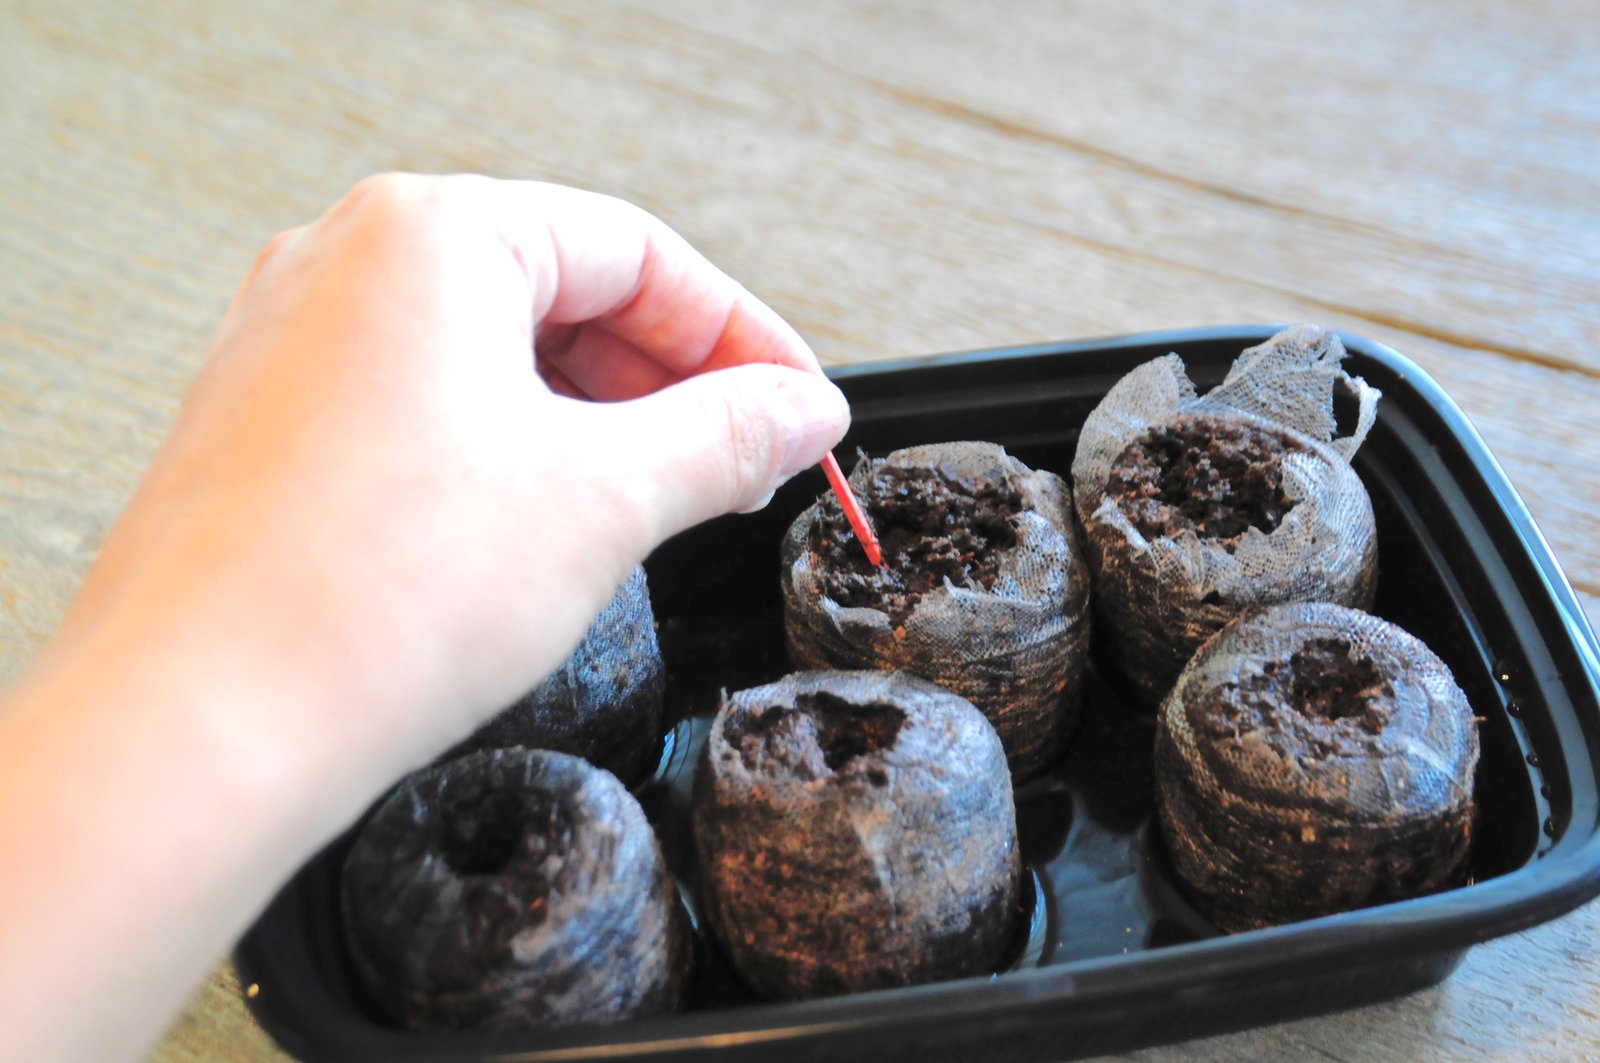
Once your pellets are expanded and ready to go, gently loosen the netting that is covering the top of your pellet. Be careful not to completely tear the netting off or your peat pellet will fall apart. This widens your growing space and helps make sure your seedling won’t be obstructed by it once it germinates. Next, take a toothpick and gently loosen up the soil. Oftentimes the peat pellets even once they’re rehydrated can be pretty compacted. We want to give our seedlings the best chance at germination, so this extra step is something I always make sure to do.
PLANTING DEPTH
Now we’re ready to plant! Planting depth is very important, and something that varies based on the type and size of the seeds you’re working with. Seed packets oftentimes will have this information on them, or you can visit the seed company’s website for details. The general rule of thumb is to plant a seed at a depth that is twice the width of the seed. What does that mean? For example: if a seed is 1/8 of an inch wide, plant it 1/4 of an inch deep.
It’s also very important not to compress your soil after. Remember, that tiny seedling needs to push its way out of the soil, so we don’t want to make that harder by compacting it down. When you cover your seed, lightly push some of the peat moss over it with the toothpick. You can use that same toothpick with a piece of tape and make a flag to mark your plant.
LABELING
This brings me to the next important step of seed starting…mark your plants! I cannot stress this enough. This goes for direct sowing and also indoor seed starting. It’s so easy to get excited and just start throwing seeds in pellets and raised beds, but it’s equally easy to forget where you put them. And take it from me, the waiting game of “what did I plant there” is no fun when you’re sitting around for weeks stalking your seedling for true leaves so you can figure out what the heck it is. So do yourself a favor and mark your plants!
LIGHT
Now that you’ve sowed your seeds, it’s time to set them under the lights. In my garden I do 16/8— 16 hours on, 8 hours off. Using a timer for this is helpful, but not necessary as long as you can remember. You want to set your light just a couple inches above the soil surface.
Light is extremely important for growing strong seedlings. Without light, or with light that is too far away, seedlings will grow “leggy”. When a seedling is leggy, that means that it’s had to stretch itself to get to the light, and you’ll notice that they’ve grown very tall and spindly.
It’s also crucial that the lights go off for a period of hours to give the seedlings time to rest. This is when they heal and strengthen themselves after working so hard to grow under the light, so it’s important that they get a period of darkness.
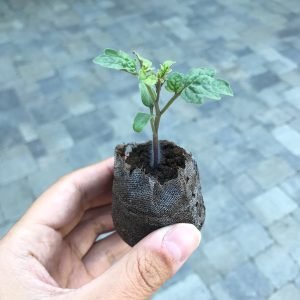
As the seedlings grow and develop their true leaves, I drop the light exposure down again to 12/12 and raise the lights. True leaves are the first set of leaves that resemble the plant. The very first set of nondescript leaves you’ll see once a plant germinates are called the cotyledons. Those are the embryonic leaves that supply nutrition to the plant until the true leaves form. The plant will start photosynthesizing once the true leaves form, and the cotyledons will eventually yellow and die off. This is perfectly normal!
WATERING
Last but not least, watering. Watering trips up most people in the garden, but we aren’t going to let that happen. The peat pellets really make watering indoor seedlings super easy. When determining if you need to water, look at the color of the surface of the soil. If it is a lighter brown, closer to the color of a dehydrated pellet, it’s time to water. If it’s a deep, dark chocolate brown, hold off on the watering.
When your seedlings do need a watering, do it from the bottom. This is one of the reasons a baking tray or Tupperware is great for keeping peat pellets. I prefer to water sequentially with a kitchen measuring cup and watch the peat pellets change color as they soak it up. If I pour too much, I drain any excess water. Seedlings don’t like wet feet and soil that is too wet can cause seedings to rot. The peat pellets will take what they need so just pay attention to if there is any excess in the tray after watering.
OTHER SEED STARTING ACCESSORIES
Depending on what you are trying to grow, some plant types may need additional help to get going. Peppers and Tomatoes are two that stand out in this category because they require bottom heat for germination. That doesn’t mean that you won’t be able to germinate them without one, but using one in my experience has made a massive difference. For these, I use a basic heat mat from CVS for muscle aches that I had around the house. I put mine on the medium setting and leave then on until they develop their true leaves. At that point I turn it off.
Now that your seeds have been sowed, let the seed stalking begin! You’ll start to see little green stems and cotyledons emerge over the next week or so. Do your best to be patient and remember that each seed has its own time frame. Lettuce should pop up pretty quickly after a few days, and the peppers, eggplants and tomatoes will take closer to 7-10 days.
Part 3 of the tutorial will talk all about graduating from peat pellets into nursery pots and finally transplanting into the garden! Stay tuned for the final post of the tutorial!
 Indoor Seed Starting Tutorial Part 1
[…] couple seed packets, some pellets and a clamp light are all you need to get started. Stay tuned for Part 2: a step by step guide on how to sow your seeds in your pellets to maximize […]